Tuesday, March 23, 2010
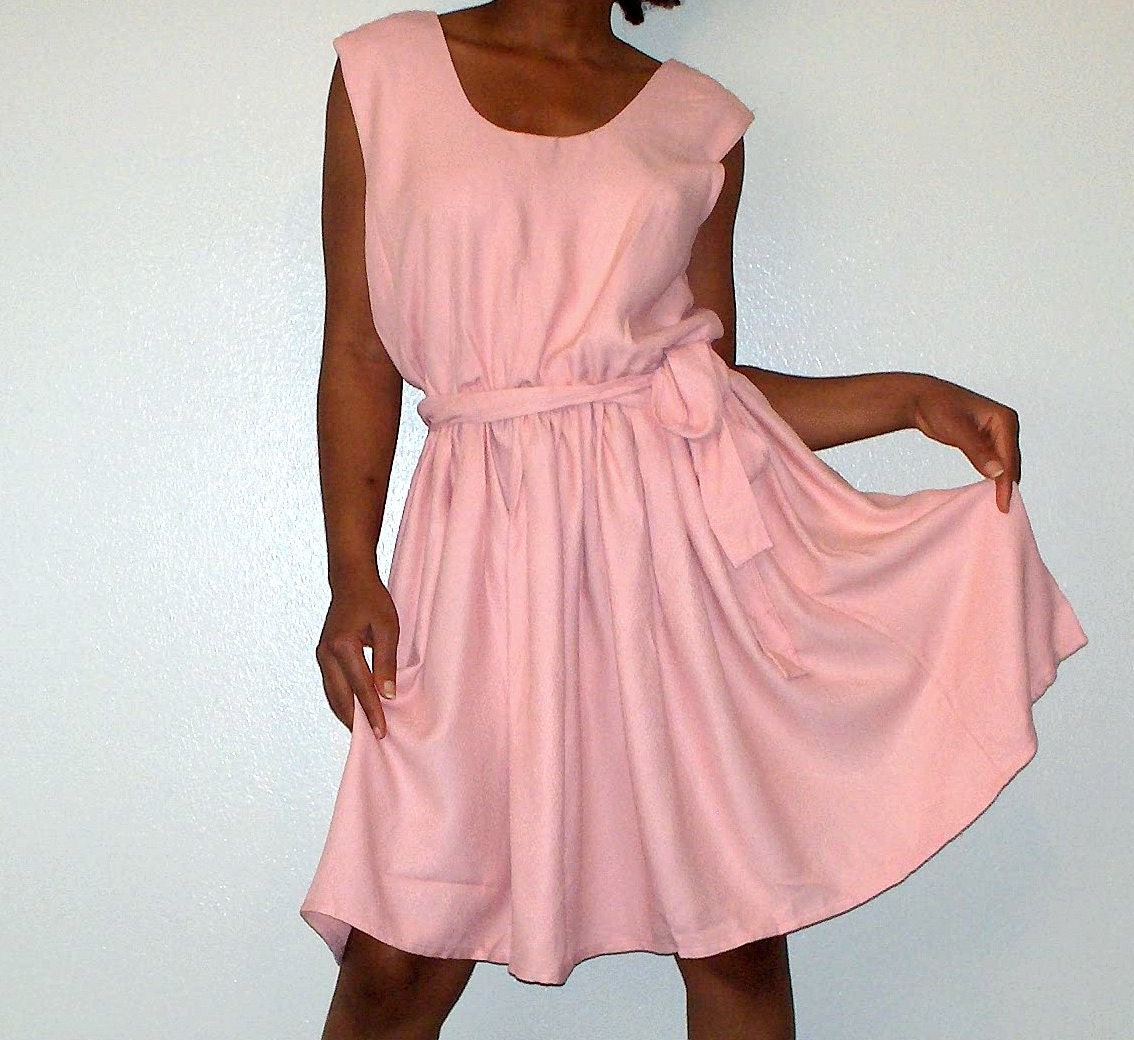
dressing up for easter
Wednesday, April 8, 2009
egg-tastic
start off by making the perfect boiled eggs. cover the eggs with water in a pot and bring to boil. once it's at a boil, turn off the heat, cover the pot and let sit for 30 minutes.
blowing an egg...i have to admit, this one scares me. family fun swears this is the secret...
first shake the egg (uncooked) to break the yolk. Then use a small nail to make a hole in
the top and bottom of the egg. Blow gently until
the egg is empty.
dying your eggs can be done with standard food coloring...or you can buy the "name your fav character" dying kit at the store.
now it's time to spice those eggs up...family fun has some really fantastic and family friendly ideas for the kiddos...
wrap rubber bands around egg, covering completely and dye. let dry...and you get this beauty.
to create this beauty...you drizzle rubber cement on the egg and let dry...then dye it...remove the rubber cement...and viola!
when dying the eggs, use tongs to add and remove eggs from dye...and slap on some rubber gloves to protect those pretty hands from the blue dye!
For a quick egg-drying stand, use a paper towel tube cut into sections...and place eggs on top.
more fun and creative egg decorating how to's over at family fun...
danyele @ a thorn among roses
Tuesday, April 7, 2009
The El Natural Easter Egg...

Naturally dyed Easter eggs~
• White table vinegar
• Coffee grinds (or anything that will stain, like berries)
Instructions for natural dyes:
1. In a medium pot, add one cup of water for every handful of dyestuff (for coffee and blue berries, I did one heaping tablespoon).
2. Boil the mixture until you like the colour obtained, but keep in mind that the eggs will be lighter than the liquid. If you want darker eggs, let the mixture boil longer.
3. When you like the colour, strain the liquid and put in to a glass jar or cup. Add 2-3 teaspoons of white table vinegar for every cup of dye.
4. Put the egg into the dye. The egg should be completely submerged. Be careful, as the jar will be hot.
5. Let sit for as long as necessary to obtain the desired colour. NOTE: I left both eggs overnight.
6. Remove eggs from liquid (NOTE: I use a slotted spoon to scoop them out). Be careful, as the colour can rub off. Gently place upright to dry (this will seal the colour).
resurrection eggs
resurrection eggs are a great way to tell the resurrection story to your children at easter...and it's easy to do yourself.
grab a bag of plastic easter eggs at your local store...and save an egg carton from your eggs this week.
mark each egg with a number...you can use permanent marker or some scrapbook letter stickers...whatever you would like.
each egg will represent one of 12 parts of the resurrection story. inside each egg you will place a bible passage to read and an item representing the bible passage. then you can tell your children the message associated with each passage/item.
so into each egg, place the item and scripture reference noted on a piece of paper.
Message -- Jesus rode into Jerusalem on a donkey. The people waved palm branches.
Passage -- Matthew 21:1-11
Item -- Piece of palm branch or plastic leaf in the egg.
Egg #2:
Message -- Mary poured expensive perfume on Jesus' feet.
Passage -- John 12:2-8
Item -- Small perfume sample from a magazine or cloth with perfume or cologne on it.
Egg #3:
Message -- Jesus shared the Last Supper with His disciples.
Passage -- Matthew 26:17-19
Item – a piece of Chex cereal
Egg #4:
Message -- Judas betrayed Jesus for 30 pieces of silver.
Passage -- Matthew 27:3
Item -- 3 dimes or plastic “silver” money
Egg #5:
Message -- Jesus carried His own cross.
Passage -- John 19:17
Item – toothpicks or Popsicle stick cut and glued into a cross.
Egg #6:
Message -- Soldiers placed a crown of thorns on Jesus' head.
Passage -- John 19:2
Item -- Small thorny branch or a large thorn all by itself.
Egg #7:
Message -- Soldiers parted Jesus' garments and cast lots for His coat.
Passage -- John 19:23
Item -- Swatch of burlap and a nail or miniature dice.
Egg #8:
Message -- Jesus was nailed to a cross and pierced in His side.
Passage -- John 19:18,37 & John 20:25-29
Item -- A nail
Egg #9:
Message -- They gave Jesus vinegar mixed with gall on a sponge to drink.
Passage -- Matthew 27:34
Item -- A small sponge
Egg #10:
Message -- Spices to prepare Jesus for burial.
Passage -- John 19:40
Item -- 7 or 8 whole cloves, or other whole spices
Egg #11:
Message -- The stone covering Jesus' tomb was rolled away.
Passage -- John 20:1
Item -- A small rock
Egg #12:
Message -- The napkin around Jesus' head was lying separately from His linen clothers. He was not there. He has risen!
Passage -- John 20:6-7
Item -- A scrap of linen-type fabric
Wednesday, March 25, 2009
easter eggs...pretty style
don't sew, use hot glue! seriously!
i found sew, mama, sew's blog...look at these easter goodies!
here's her version...super fun!!!!
and and my version...not quite done but on the machine as i type. time. it's always my enemy!
so go ahead and try it. sew mama sew has this great tutorial...HERE!
sew {or glue} them up...use them to decorate your house until easter, and then, the easter bunny can use them to put a few special treats for you or the kids!
danyele @ a thorn among roses